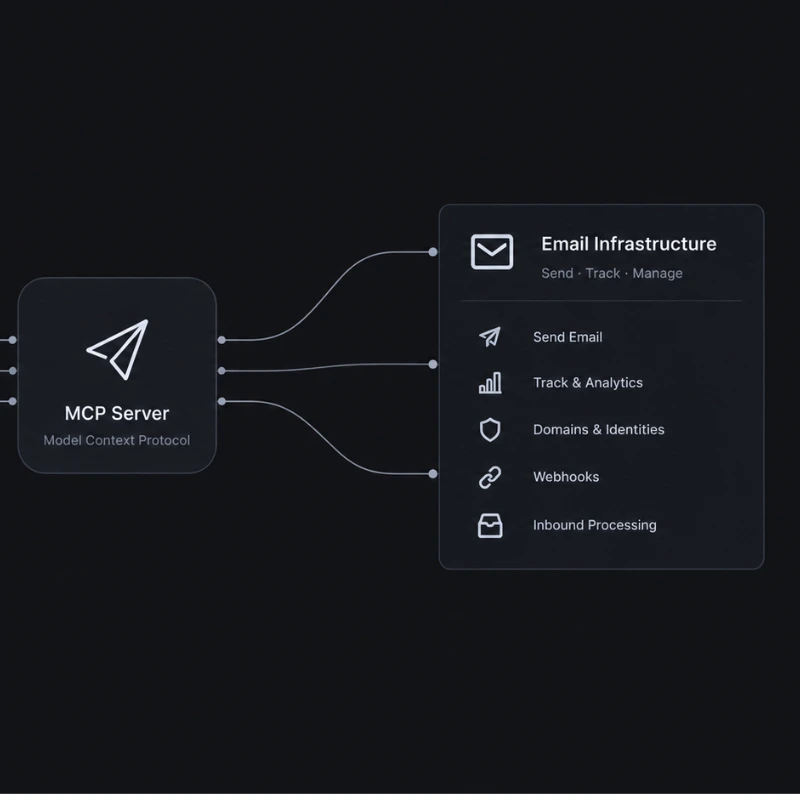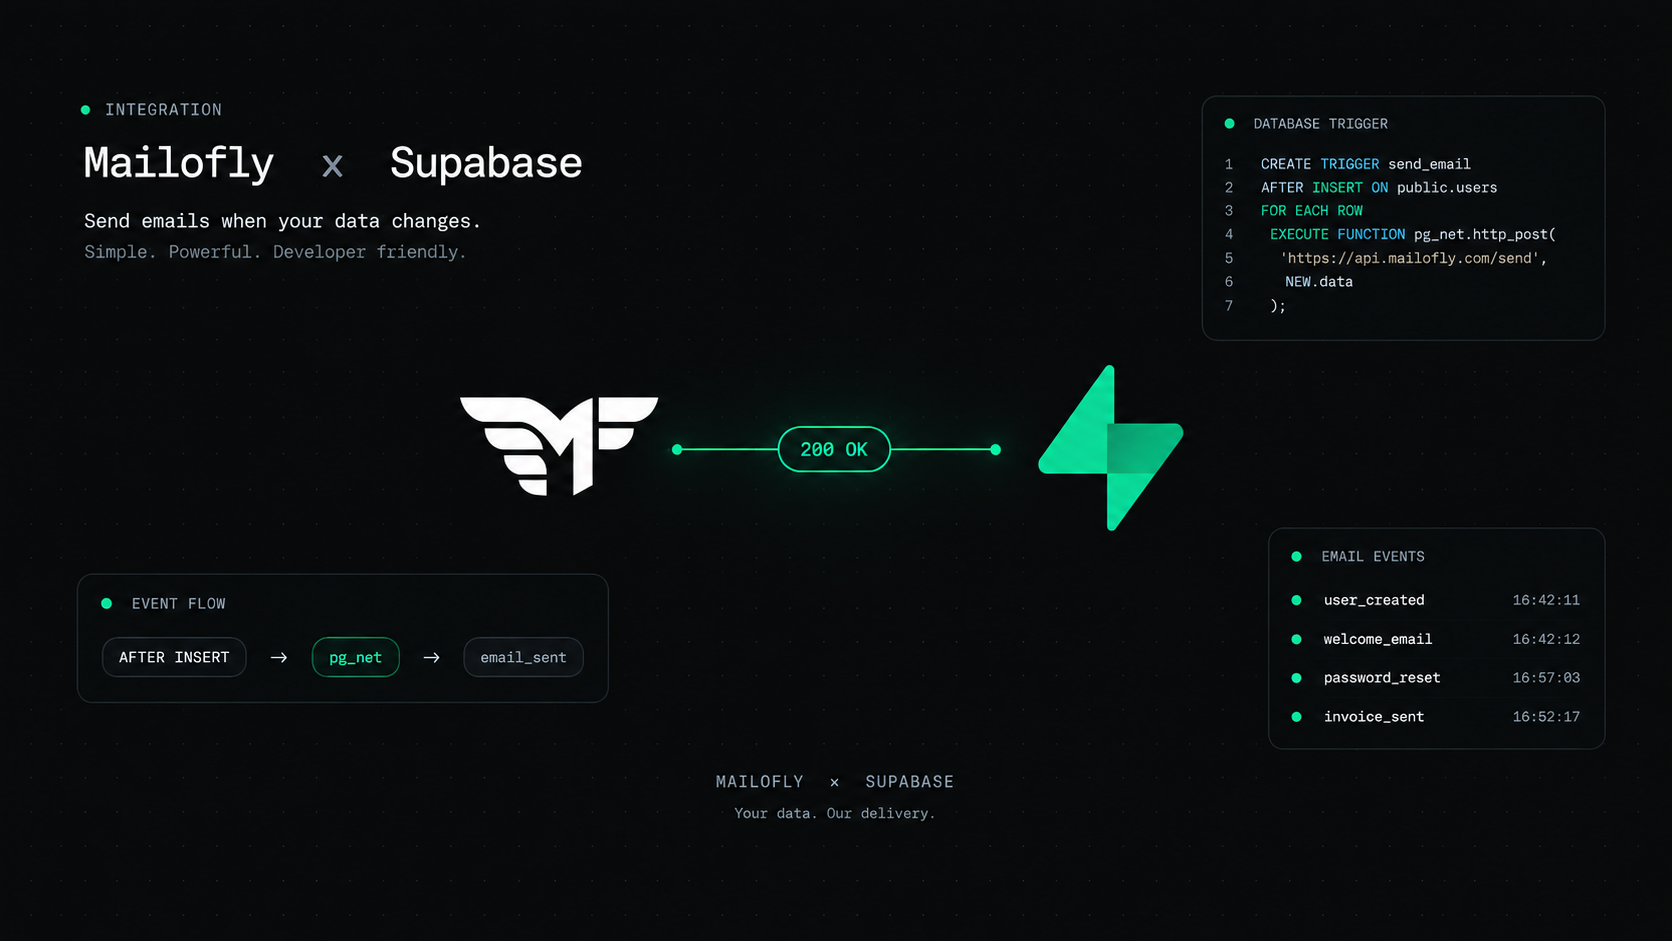
A database transaction commits—and your customer immediately gets a personalized welcome email. Here is how to automate transactional emails directly from Supabase using PostgreSQL triggers and Mailofly.
The Problem: Why Sending Email from Your App Still Sucks
Picture a standard product workflow: a new user signs up, subscribes to a plan, or places an order in your application. Your database commits the row to public.subscribers or public.orders.
Now, you need to dispatch a transactional welcome email. In traditional web development architectures, this deceptively simple task quickly turns into an infrastructure headache:
You configure a background queue like BullMQ, Celery, or AWS SQS.
You provision and monitor background worker containers or Redis instances.
You write boilerplate code to catch network failures, serialize payloads, and configure dead-letter queues.
Or you deploy serverless Edge Functions and glue together fragile webhook endpoints.
Every additional moving piece adds deployment overhead, latency, and potential points of failure. If the worker crashes or the queue backs up, your customers wait minutes or hours for basic account verification or onboarding emails.
What if your database could dispatch the email the exact millisecond the transaction commits—securely, asynchronously, and with zero extra backend infrastructure?
Enter Mailofly x Supabase: Database-First Email Automation
Mailofly connects directly to your Supabase PostgreSQL database to turn standard table events (INSERT and UPDATE) into real-time transactional email triggers.
Instead of managing queues, you simply connect your Supabase project in Mailofly, select the table and event you want to monitor, and pick an email template. Whenever a row is added or updated, Mailofly automatically formats your email, populates dynamic variables from the row data, and delivers it through your verified domain.
How It Works Under the Hood
You might be wondering: Does triggering an email from PostgreSQL slow down database transactions or risk rolling back queries?
The answer is no. The integration is architected specifically around PostgreSQL's non-blocking network capabilities:
1. Non-Blocking Asynchronous Delivery via pg_net
Mailofly uses Supabase's native pg_net extension. When a row triggers the hook, PostgreSQL initiates an asynchronous HTTP POST (net.http_post) in the background. The database transaction completes immediately without waiting for a remote network response—meaning zero latency impact on your users or API response times.
2. Cryptographic HMAC-SHA256 Signatures
Security is non-negotiable. Using PostgreSQL's built-in pgcrypto extension, every outbound payload is signed with a shared cryptographic secret (x-mailofly-signature: sha256=...). Mailofly cryptographically verifies each request before touching an email template, ensuring that forged or unauthorized calls are rejected immediately.
3. Automatic Column Mapping
You don’t have to write translation logic or JSON parsers. Every column in your database table (name, plan, amount, order_id) automatically becomes a merge tag in your Mailofly template ({{name}}, {{plan}}, {{amount}}).
Step-by-Step: Setting Up Your First Trigger in 3 Minutes
Here is how you can set up an automated welcome email for new signups in three quick steps.
Step 1: Your Supabase Table
Let's assume you have a standard table in Supabase called public.subscribers:
CREATE TABLE public.subscribers (
  id uuid PRIMARY KEY DEFAULT gen_random_uuid(),
  name text NOT NULL,
  email text NOT NULL,
  plan text NOT NULL DEFAULT 'Starter',
  created_at timestamptz DEFAULT now()
);
Step 2: Design Your Template in Mailofly
Head to Templates in your Mailofly dashboard. Create an email template that uses merge tags matching your column names:
<div style="font-family: sans-serif; max-width: 600px; margin: 0 auto;">
  <h2>Welcome to the team, {{name}}! 👋</h2>
  <p>Thank you for subscribing to our <strong>{{plan}}</strong> plan.</p>
  <p>Your workspace is ready. Let us know if you need any assistance getting started.</p>
</div>
Step 3: Connect Supabase and Create the Trigger
In Mailofly, go to Integrations → Supabase:
Click Connect with Supabase and authorize your project via one-click OAuth.
Click Add Trigger.
Select your Table (
public.subscribers), Event (INSERT), and your Recipient Column (email).Select the template you created in Step 2, and click Create Trigger.
Mailofly instantly provisions the secure PL/pgSQL function and trigger hook inside your Supabase schema.
Testing the Trigger Live
To test it, run a single INSERT statement in your Supabase SQL Editor:
INSERT INTO public.subscribers (name, email, plan)
VALUES ('Alex Rivers', 'you@example.com', 'Enterprise Pro');
Within seconds:
Check your email inbox—your personalized welcome email arrives, addressed to Alex Rivers with "Enterprise Pro" filled in.
Check your Mailofly dashboard—the trigger's Emails sent counter increments in real-time.
Check the Logs tab in Mailofly—view detailed delivery timelines, bounce verification, and real-time open and click tracking.
💡 Pro Tip: You can also inspect the HTTP request directly inside Supabase by running
SELECT * FROM net._http_response ORDER BY id DESC LIMIT 5;to verify HTTP status200.
Popular Use Cases
You can use database triggers for virtually any transactional workflow in your SaaS:
Welcome Sequences & Onboarding: Dispatch welcome emails immediately when a user creates an account.
Order & Payment Confirmations: Trigger branded receipts as soon as a payment status switches to
paidin yourorderstable.Security & Account Alerts: Notify users immediately when sensitive account columns (like passwords or 2FA settings) are updated.
Team Invites & Access Grants: Deliver invitation links whenever a new member is added to an organization table.
Getting Started
You shouldn’t have to spin up queue servers and write worker boilerplate just to send transactional emails. By leveraging PostgreSQL’s built-in event capabilities with Mailofly, you get lightning-fast delivery, bulletproof security, and zero maintenance overhead.
Ready to simplify your email stack?
Sign up for Mailofly and connect your Supabase project in under two minutes.